DIY Hardware Installation: A Step-by-Step Guide
Al
Introduction to DIY Hardware Installation
Tackling a DIY hardware installation project can be both rewarding and empowering. Whether you're upgrading your home or replacing old fixtures, understanding the basics of installation is crucial. This guide will walk you through the essential steps to ensure your project is a success.

Gathering Your Tools and Materials
Before you start, make sure you have all the necessary tools and materials. Common tools for hardware installation include a screwdriver, drill, measuring tape, and level. Depending on your specific project, you may also need specialized tools. Always check the instruction manual for any additional items required.
Selecting the Right Hardware
Choosing the appropriate hardware is essential for a successful installation. Consider the material, size, and design of the hardware to match your existing decor. For example, stainless steel is ideal for kitchens due to its durability and resistance to corrosion.
Preparing the Installation Area
Proper preparation of the installation area is crucial. Start by cleaning the surface to remove dust and debris. This will ensure the hardware adheres properly and functions as intended. Use a level to mark where the hardware will be installed, ensuring accuracy and alignment.
Measuring and Marking
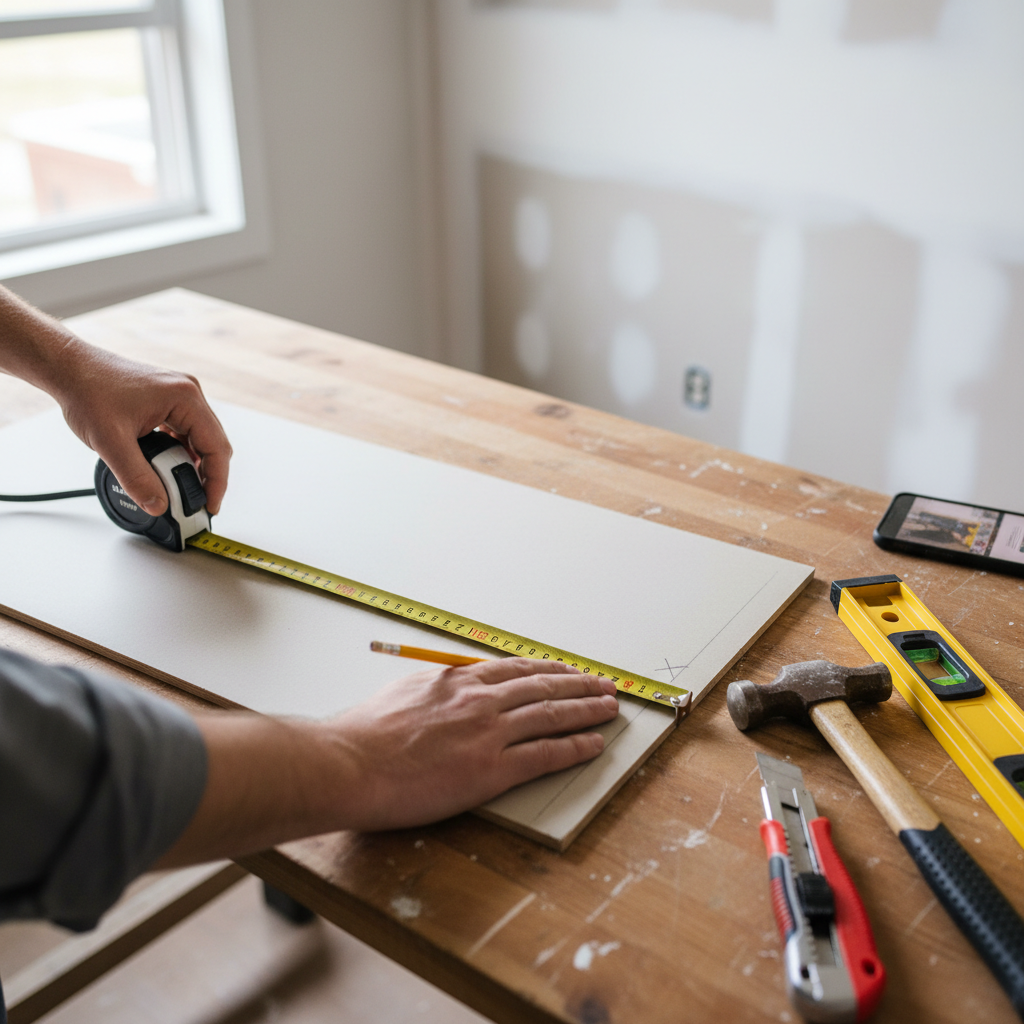
Accurate measurements are key to a successful installation. Use a measuring tape to determine the exact placement of your hardware. Mark these measurements with a pencil for easy reference. Double-check all measurements to prevent mistakes during installation.

Installing the Hardware
With your tools and measurements ready, it's time to install the hardware. Follow the manufacturer's instructions carefully. Begin by drilling pilot holes if necessary, then attach the hardware using screws or other fasteners as specified. Ensure everything is secure and aligned properly.
Safety Considerations
During installation, it's important to prioritize safety. Wear protective gear such as gloves and safety glasses to prevent injuries. Always ensure your tools are in good condition and follow safety guidelines to avoid accidents.

Testing and Adjusting
Once installed, test the hardware to confirm it functions correctly. Open and close doors, turn knobs, or test any moving parts to ensure smooth operation. If adjustments are needed, make them carefully to avoid damaging the hardware or surrounding surfaces.
Final Touches
After confirming everything is in working order, complete your project with any final touches. This could include tightening screws, applying a finish, or cleaning the area. A well-executed hardware installation can enhance both the functionality and aesthetic of your space.
